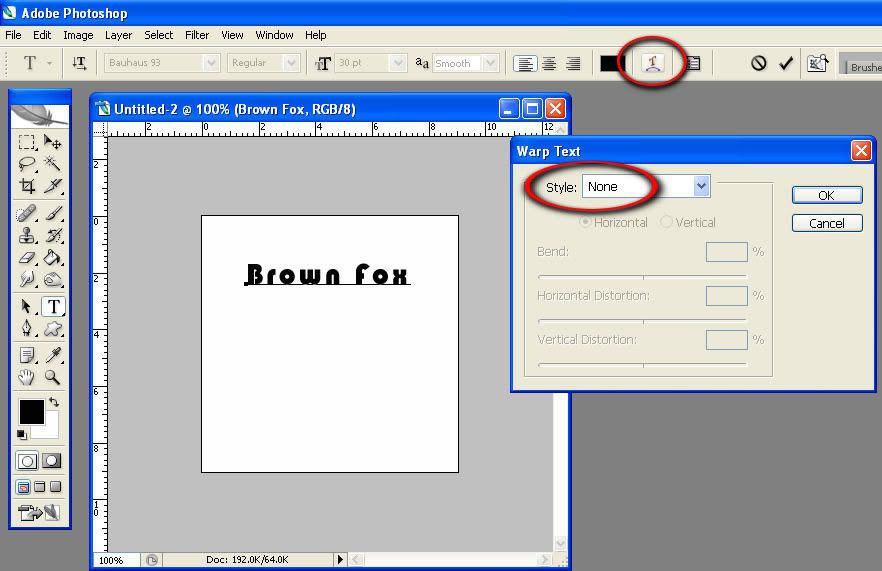
ok so there are many ways of doing this and just as many ways of tweaking it afterwards.. I will provide a simplified version and then maybe I can add mini tips for any elements you like in the actual original [img]http://www.imvu.com/shop/product.php?products_id=2038861[/img]frame image...

CREATE A BACKGROUND
first of all - colour your background - you can change it later but it just helps to have something you can contrast against :)

CREATE A METAL PLATE
create a new layer and use any filter you are familiar with to create a brushed steel texture - I have used the brushed steel filter in my photoshop plug ins but you can use a hair texture(yep!!) that will mimic the effect - just make sure its reasonably 'soft' -that is play around with the blur tool but keep the edges sharp - what we are now creating is the "metal plate"

CREATE A SHAPE CUTOUT GUIDE/TEMPLATE
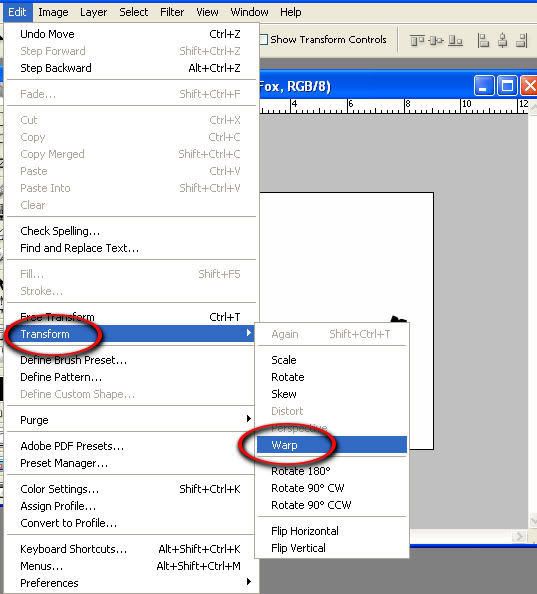
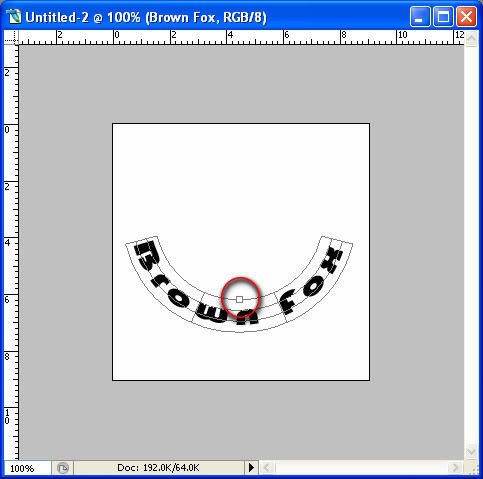
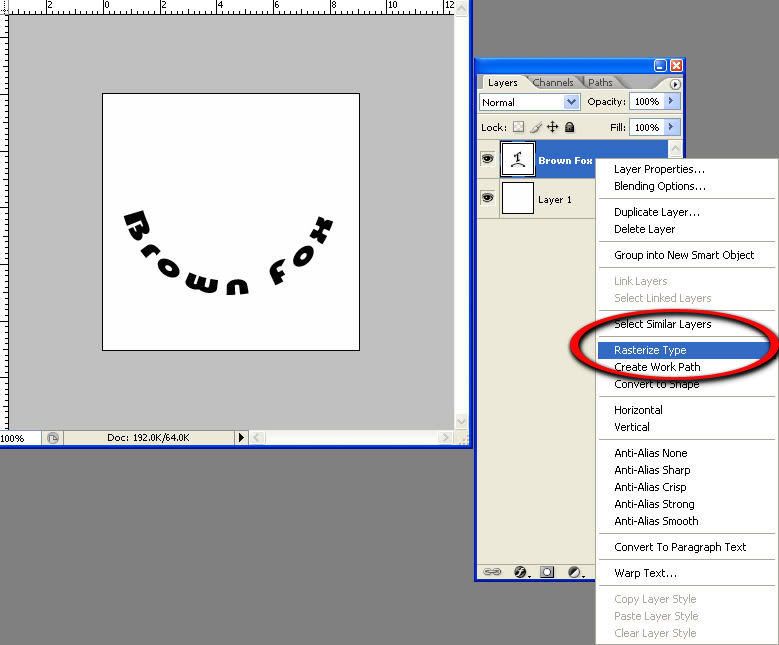
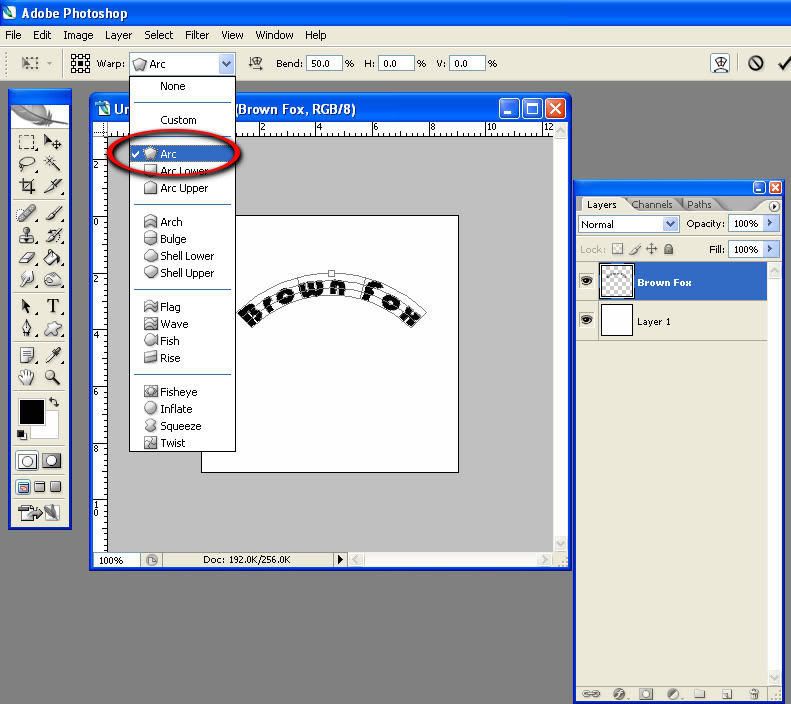
create a new layer - write in your text or create a shape you want as your 'cut out' - do this in black or white - make it a solid colour so you can easily select it later - if in photoshop make sure you rasterize your text when you are happy. You need sharp edges for a clean 'cutout' look later so keep that in mind for your design

PUNCH OUT YOUR SHAPE
now select the parts you want to cutout
in the shape/text layer - tip: in photoshop hold down the shift key if you are using magic wand and want to select multiple areas (such as individual letters).

PUNCH OUT YOUR SAHPE .2
now that you have your cutout areas selected according to your shape 'template' layer,
select the metal plate layer and click delete-

REVIEW YOUR WORK!
turn off the shape layer for now - you should see the shape/text cut out of the metal plate!

MAKE A DETAIL LAYER - RUST
now, before we continue -make sure you are
in the metal plate layer - select around the metal plate and
create a new layer - this will ensure your area selection carries over into the new layer... apply a filter that you like which mimics 'rust' - if you don't have one simply fill the area with a solid colour for now - we will fix this later. For now we just want to preserve a duplicate layer with the same sharp edges as the metal plate so we can apply some detail later on. Once you have done this, turn that layer off (hide it)
SELECT...

NEW LAYER...

RUST/FILTER...
 ****(ADDED: at this point if you want to make an edge detail on the plate, either duplicate the metal plate layer or ideally, make a new layer keeping the selection and refer to the next /end of this thread for details - then return to this point)
 MAKE THE PLATE DIMENSIONAL - DROP SHADOWS
now go back to your [color=red]metal plate layer[/color] and apply a drop shadow or perspective shadow to the layer - your plate appears to have a real engraved look!

REVIEW YOUR WORK!

_________________________________________________
DETAIL LAYER- RUST:
you can now go [color=red]back to your shape layer[/color] and reselect the cut outs

SELECT the rust layer

DELETE
and press delete - again this will cut out the shape/text from the rust now as well.

REVIEW!!
I have made the rust layer slightly transparent...
deselect everything, turn off the shape layer and see your finished product!

__________________________________________________
That outer edge detail I talked about!!
At the point where you are making a layer for your potential rust detail - invert your selection (this will make the outer area of the metal plate) create a new layer and apply a glow - this will give you the old edge look in my frame..I create a separate layer because I may want to soften the edge darkness later on by making the layer more transparent...
select - invert

apply glow

I use a rust filter for my rust in PhotoShop - but you may have something similar - you can use a cloud effect and make it more transparent or perhaps you can figure something else out?
You can also make effects like rust smudges from the letters and add screws to the corners and so on.. You could cut out edges roughly from the plate and add a glow detail inside that area to make the plate look dented or well used... theres plenty you can do with this!! let me know where you want to go from here! offer your own additions! :) but most of all enjoy making! (post your results too!)
Heres what can be achieved.... This is my simple catalogue frame for my imvu products using this effect and adding some features such as corrosion drips to the letters and screws to the plate...

cheers
SB :)